Step 1: Create a New Application in Duo
1. Log in to the Duo Admin Panel.
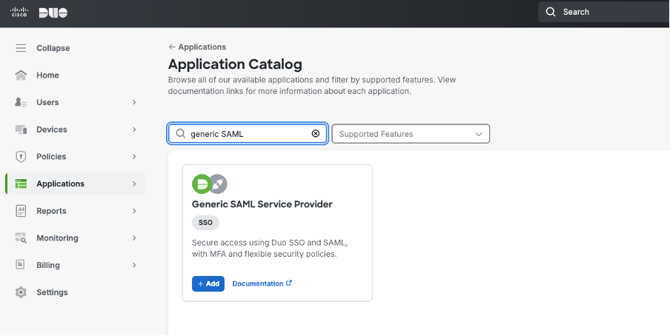
2. In the left navigation menu, click Applications
3. Search and select Generic SAML Service Provider.
4. Create a new Application of type “Generic SAML Service Provider”
5. Download the Certificate and copy SP-initiated Authentication URL

Step 2: Set up SAML SSO on Nitro Admin Portal
1. Login to the 'Nitro Admin Portal'
2. Select 'Settings' in the left navigation pane and navigate to the 'Single Sign-On' tab
3. Click the 'Setup SAML SSO' button
4. Paste the 'SP-Initiated Authentication URL' from Duo into the 'Sign-in URL' field.
5. Upload the Certificate you downloaded from Duo into the 'X.509 Signing Certificate' field.
6. Click 'Submit' and 'Enable SSO'
7. Copy the Entity ID, Reply URL 1 and Reply URL 2
Step 3: Complete Application Setup in Duo
1. Return to the DUO Generic SAML Service Provider application settings.2. In the 'Service Provider' section, update the 'Entity ID' with the 'Entity ID' value copied from Nitro Admin Portal.
3. For each Reply URL, create two entries on ACS URL section:
- One with the “?connection=<connection-name>” parameter (mark this as default to ensure it is used in IdP-initiated login scenarios (e.g., from Duo Central).
- One without the connection parameter.
You will end up with 4 ACS URLs total:
- Reply URL #1 (with connection parameter) (Default: True)
- Reply URL #1 (without connection parameter)
- Reply URL #2 (with connection parameter)
- Reply URL #2 (without connection parameter)

4. In SAML Response section
- Set NameID format to urn:oasis:names:tc:SAML:1.1:nameid-format:unspecified
- Map following SAML Attributes:
| i. <Email Address> | ii. http://schemas.xmlsoap.org/ws/2005/05/identity/claims/emailaddress |
| iii. <First Name> | iv. http://schemas.xmlsoap.org/ws/2005/05/identity/claims/givenname |
| v. <Last Name> | vi. http://schemas.xmlsoap.org/ws/2005/05/identity/claims/surname |
| vii. <Username> | viii. http://schemas.xmlsoap.org/ws/2005/05/identity/claims/name |

6. Your Nitro SSO integration with Duo is now set up for both SP-initiated and IdP-initiated flows.