Steps to send a 2FA eSignature request:
Step 1: Begin. Start an eSignature Request in Nitro Sign from your Document or Template. The "Add a Recipient" popup window will include the "Add access authentication" option. There, you can add an Access Code from 4 to 32 digits that you then need to share with the recipient in order for them to open the Document.
You also have the option to choose SMS as the 2FA option, where you will need to supply the recipient's phone number. If using the SMS option, the recipient of your Document will be sent at SMS at the phone number you provided which will include a code that the recipient will need to enter in order to access the Document you are sending to them for eSignature: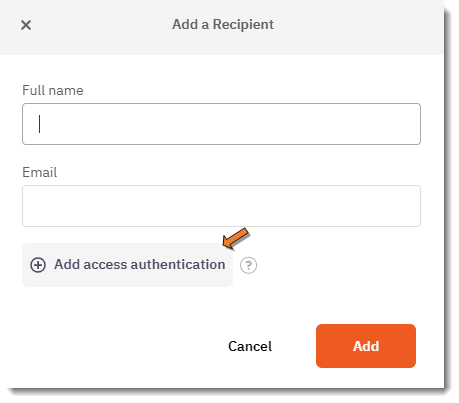
Step 2: Access code. The "Add access authentication" section expands and provides instructions on what a valid Access Code is or fields to enter in the recipient's phone number if SMS is selected: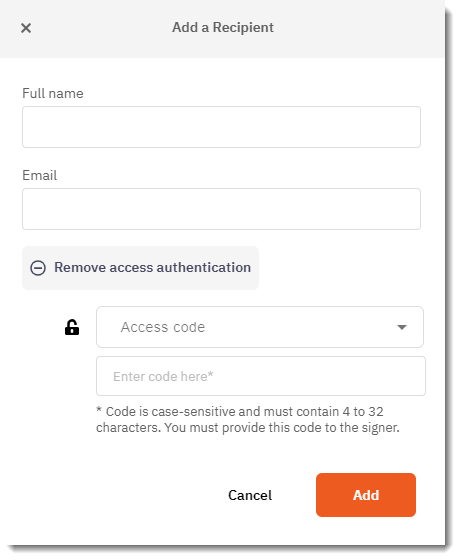
Step 3: Lock. When applied, the signer will display a lock icon to indicate that a code has been added. When edit is selected, the same dialog for adding a signature opens up the Name, Email, and Access Code which can all be updated without affecting any fields that have already been placed: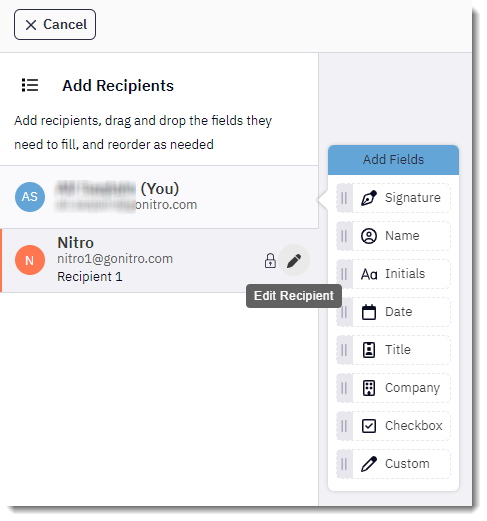
Step 4: Populate. Each signer can have 2FA applied or not, as it is an independent setting for each recipient. Once fields have been added and you continue to the Send screen, the ?To? field reminds the sender of the settings applied:
**IMPORTANT** There is no mechanism provided for the sender to give an Access Code to the signer. If the Access Code 2FA option is selected, it is up to the sender to provide that information outside of Nitro Sign.
Steps to receive a 2FA eSignature request:
Step 1: Email. The signer (recipient) will receive the Request Signature email. The email will not contain any information of an additional code being required to open the document - by design. Once the recipient clicks the link in the email, if there is 2FA applied, they will then be greeted by a new screen blocking entry to the document:

Step 2: Unlock. Once the Signer inputs the correct code you sent to them or they received from SMS, they will be brought to the regular Signing screen. Multiple incorrect attempts to enter the Authorization Code will block the user from accessing the document. The verification of the code will be cached to that browser tab, so if the recipient refreshes the page or comes back to it later on without closing the tab, they will not require the code again. If they open the link in a different tab or browser, before they have signed it, they will need to input the code again.
Step 3: Sign. After the document has been signed, the code is no longer required to view the document. It is purely to authenticate the signing action.
By following the steps above, users can successfully both send and receive a 2-factor-authorization (2FA) eSignature request with Nitro Sign.
A Support ticket can be submitted via the following webpage: www.gonitro.com/support/ticket
To leave a post on our Community forum, please do so through the webpage linked here: https://community.gonitro.com/